
Kids
Kids
Shop by Age


Shop Our Top Brands


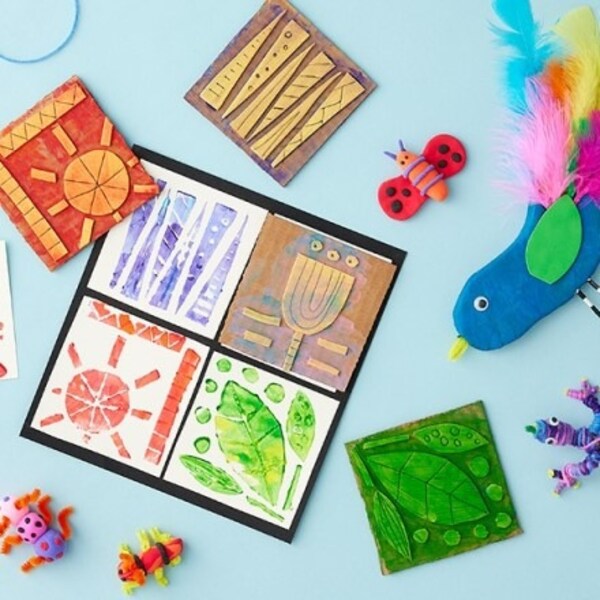

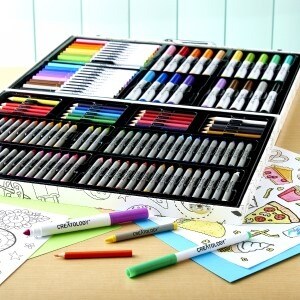
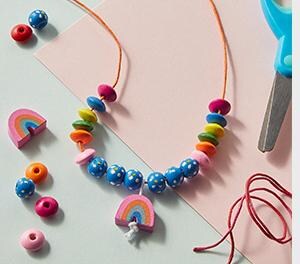
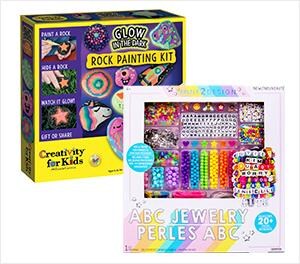
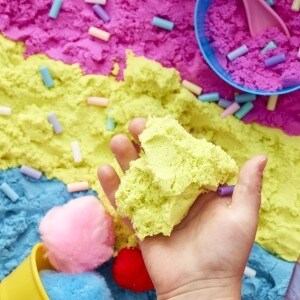
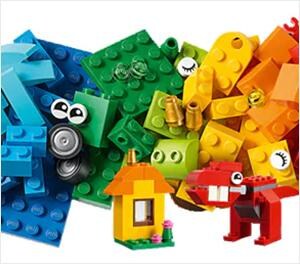
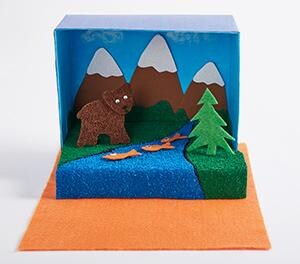
With the right crafts and toys, there is no limit to where kids' imaginations can take them! Browse our wide selection of kids’ crafts and activity kits that are great for your little one's play and learning. Our huge variety of beads and jewelry are great for young makers learning to make friendship bracelets, bead magnets, and more. Kids (and adults) of all ages love getting their hands on some sand and fun clay, including modeling clay, kinetic sand, Model Magic and more from Crayola and PlayDoh. Whether you’re looking for art supplies, crafting projects, Slime, or weekend projects, we have just what you need for playtime full of smiles and laughter.